Pilates Ad Banner Tools: 3 Options and Photo-Based Workflows Compared
The best way to create a Pilates trial lesson banner for Japan depends on what you want the class photo to show. Compare AdForge, Canva, and Adobe Express by photo composition, Japanese copy placement, and how much you want to edit yourself.
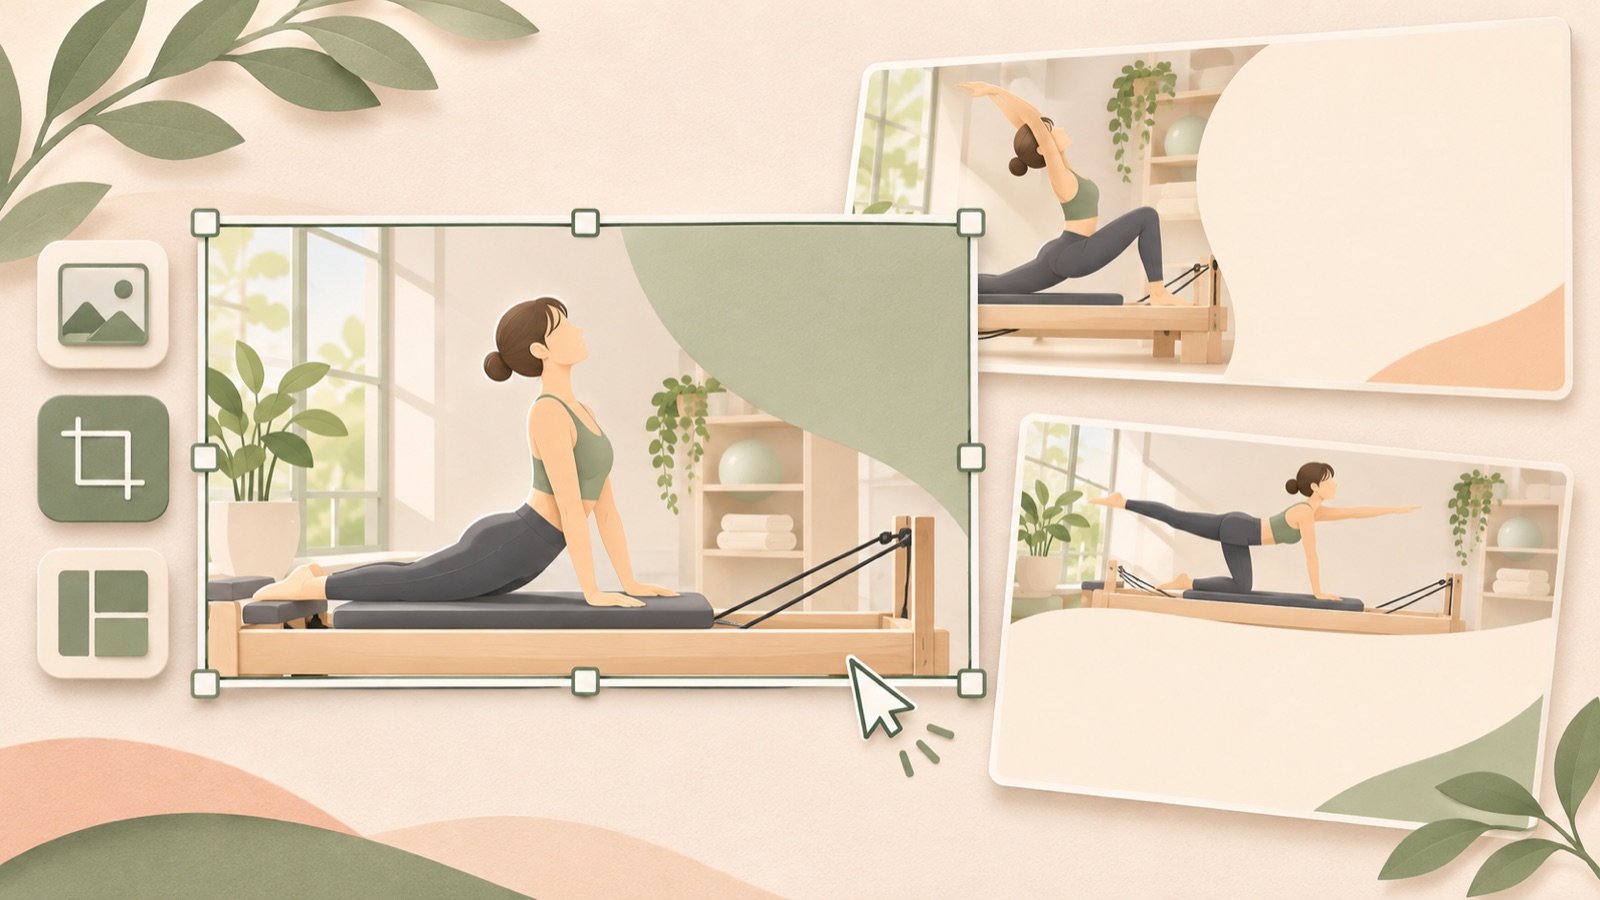
The criteria for choosing a Pilates ad banner tool are how it makes use of class photos, whether you need to place Japanese copy yourself, and whether you want to work from a reference ad. Consider AdForge if you have a layout to reference, Canva if you want to arrange photos and text yourself, and Adobe Express if you need to start by cropping and resizing photos. Below is a comparison of three tools and two combined workflows, rather than a performance ranking. The selections focus on creating a first banner that shows the equipment and movements while communicating the trial price, class format, and booking instructions.
1. AdForge — Create trial lesson banner concepts using a reference ad layout
AdForge is our service, and we run this blog. It is an ad remake app that creates new ads by adding your photos and message to an ad you like. For image ads, it uses the reference layout to create three concepts with actual product photos. It suits studio operators who have trial lesson details and photos ready but cannot picture the layout. For a Pilates banner, start by looking for references with a large photo area and separate areas for pricing and booking information.
Search for and save image ads to reference in the ad library. When creating an image ad, choose a reference, upload the studio or class photos you want to use, and enter the actual class format and trial conditions in the product information field. As a hypothetical example, you could prepare ‘マシンピラティス体験’, ‘グループレッスン’, ‘体験1回 1,500円’, and ‘体験を予約’. The price and class format are examples, so replace them with your actual offering. Make the distinction clear in your input so an equipment-based class is not described as a mat class.
On the results screen, check the Japanese wording and prices in all three concepts. Then check whether the equipment, hands and feet, or class movements have been rendered differently from the actual photo before downloading. The advantage is getting concepts to review based on a reference layout. The limitation is that you need to inspect the generated results yourself. If the movement shown in the photo or the placement of the information must stay fixed, also compare editing workflows that let you arrange elements yourself. Check that you have permission to use the uploaded materials, and use your existing ad management tools to upload and run the ads.
2. Canva — Place Japanese copy yourself while keeping equipment and movements visible
Canva lets you replace photos and text in ad templates and adjust brand colors and fonts. It supports drag-and-drop editing.2 It suits operators who want to decide for themselves which parts of a class photo to show. As a hypothetical example, place a photo of someone exercising on a reformer on the left, and group the class type, trial price, and booking copy on the right. If text placed over the photo obscures the equipment or posture, choose a layout that separates the photo from the information.
The advantage is being able to work directly with photos and text while matching your brand colors and fonts.2 However, the person creating the banner must decide which information to emphasize. Below the hypothetical ‘体験1回 1,500円’, add only the conditions that actually apply, and leave the longer class description for the booking page. You can create banners with free templates, photos, and fonts, but some advanced features require payment.2 When comparing it with AdForge, which creates concepts from reference ads, the deciding factor is whether you want to spend time arranging the elements yourself.
3. Adobe Express — Go from cropping class photos to creating a banner
Adobe Express supports online banner creation and customization, as well as image cropping and resizing.3 It suits those who first need to choose which part of a full-studio photo to use in an ad. As a hypothetical example, if you only have one wide shot of a group class, first choose a crop that keeps both the equipment and the class activity visible. Then build the banner while checking that there is room for the Japanese trial lesson information. If reducing the photo makes the class format difficult to recognize, it is better to choose another shot.
The advantage is being able to work through photo preparation, including cropping and resizing, and then banner customization.3 The limitation is that the tool does not decide the right composition or information hierarchy for you. Choose between it and Canva based on the task you need to start with, rather than which has better features. Consider Canva if your focus is brand colors, fonts, and copy placement, or Adobe Express if your first task is deciding which part of an existing photo to use. You can start creating banners for free in Adobe Express without a credit card.3
4. AdForge and Canva — Create separate layouts for private and group classes
This combination suits studios that offer both private and group classes and need separate informational banners. First, create concepts in AdForge using a reference ad and your existing photos, then choose a layout that clearly distinguishes the class imagery and pricing. Next, use the original photos and copy in Canva to create separate banners following the chosen direction. Canva lets you replace photos and text and adjust colors and fonts.2 The advantage is being able to review concepts before settling on a layout direction you can reuse.
As a hypothetical example, use a photo of an instructor teaching a student for the private class banner, and a photo showing multiple pieces of equipment for the group class banner. Include the actual class format and corresponding trial price in each banner. Replacing only the photo while leaving the information unchanged can mix up class conditions. The limitation is the additional work of arranging the elements again in Canva. This workflow does not assume automatic integration between the tools or the transfer of editable layers. If you are recruiting for only one type of class, you can start with a single tool.
5. Adobe Express and AdForge — Prepare wide studio photos before creating concepts
This combination suits operators who have wide interior photos taken to show the studio but find it difficult to decide on an ad layout themselves. First, prepare the photo in Adobe Express by cropping and resizing it.3 Remove the photographer’s reflection in the mirror or unnecessary space while retaining the equipment and movements that explain the class. Upload the prepared photo to AdForge, choose a reference with a similar proportion of photo space, and create concepts with the actual trial lesson information. The advantage is being able to decide on the photo composition and ad layout in sequence.
The limitation is the extra step of exporting and uploading the photo again. If the original photo is already suitable for an ad, you can start with AdForge alone. There is also an individual example of creating a Pilates trial ad with photos and copy, but a single example cannot establish which tool is better or how well it attracts sign-ups.1 For your first banner, choose a layout that communicates both the actual class experience and the trial conditions. For the next enrollment campaign, changing either the photo or the key copy to create a follow-up creative makes it easier to compare the intent behind each version.
Key takeaways
Consider AdForge if you want to start your layout from a reference ad, Canva if you want to adjust photos and Japanese copy yourself, and Adobe Express if cropping and resizing photos comes first. Choose the workflow that lets you complete a first banner with the actual class format and trial conditions.
FAQ
Can I create my first Pilates ad banner for free?
AdForge starts you off with 12 free image ads made with your own product photos, with no credit card required. The free allowance does not replenish. Canva provides free templates, photos, and fonts, while some advanced features require payment.2 Adobe Express also lets you start creating banners for free without a credit card.3 This article does not compare exact paid prices or the full range of free features.
Should I use a studio overview photo or a class photo?
Choose based on the first question the ad needs to answer. A studio overview is an option for showing the atmosphere, while a photo showing both equipment and movement can explain whether the class uses Pilates equipment. If you need to distinguish private from group classes, use a photo that matches the class format you are actually promoting.
What should I include in Japanese trial lesson information?
Prepare the class type, number of trial sessions and price, any necessary conditions, and the booking action. Hypothetical examples are ‘マシンピラティス体験’, ‘体験1回 1,500円’, and ‘体験を予約’. Include discounts or limited availability only when they reflect your actual offering, and keep the information consistent with the booking page.
Will ads made with AdForge run directly on Instagram and Facebook?
Automatic ad delivery is not available yet. Review and download the results, then upload them to your ad account yourself. Use your existing ad management tools to configure campaigns, run ads, and check performance.
Related reading
Make your next ad with AdForge
AdForge (ad-forge.io) is an ad remake app: pick an ad you like and rebuild it as a video or image ad for your own product. Find references in the Meta and TikTok ad libraries, let AdForge write the script, AI narration and captions, then review and download. Every account starts with 12 free image ads.