Ad Banner Tools Without Photoshop: 3 Options Compared and How to Choose
Start by deciding whether you want design options based on a reference ad or a template you can edit yourself. Compare how AdForge, Canva, and Adobe Express work and how to choose one for Japanese banners.
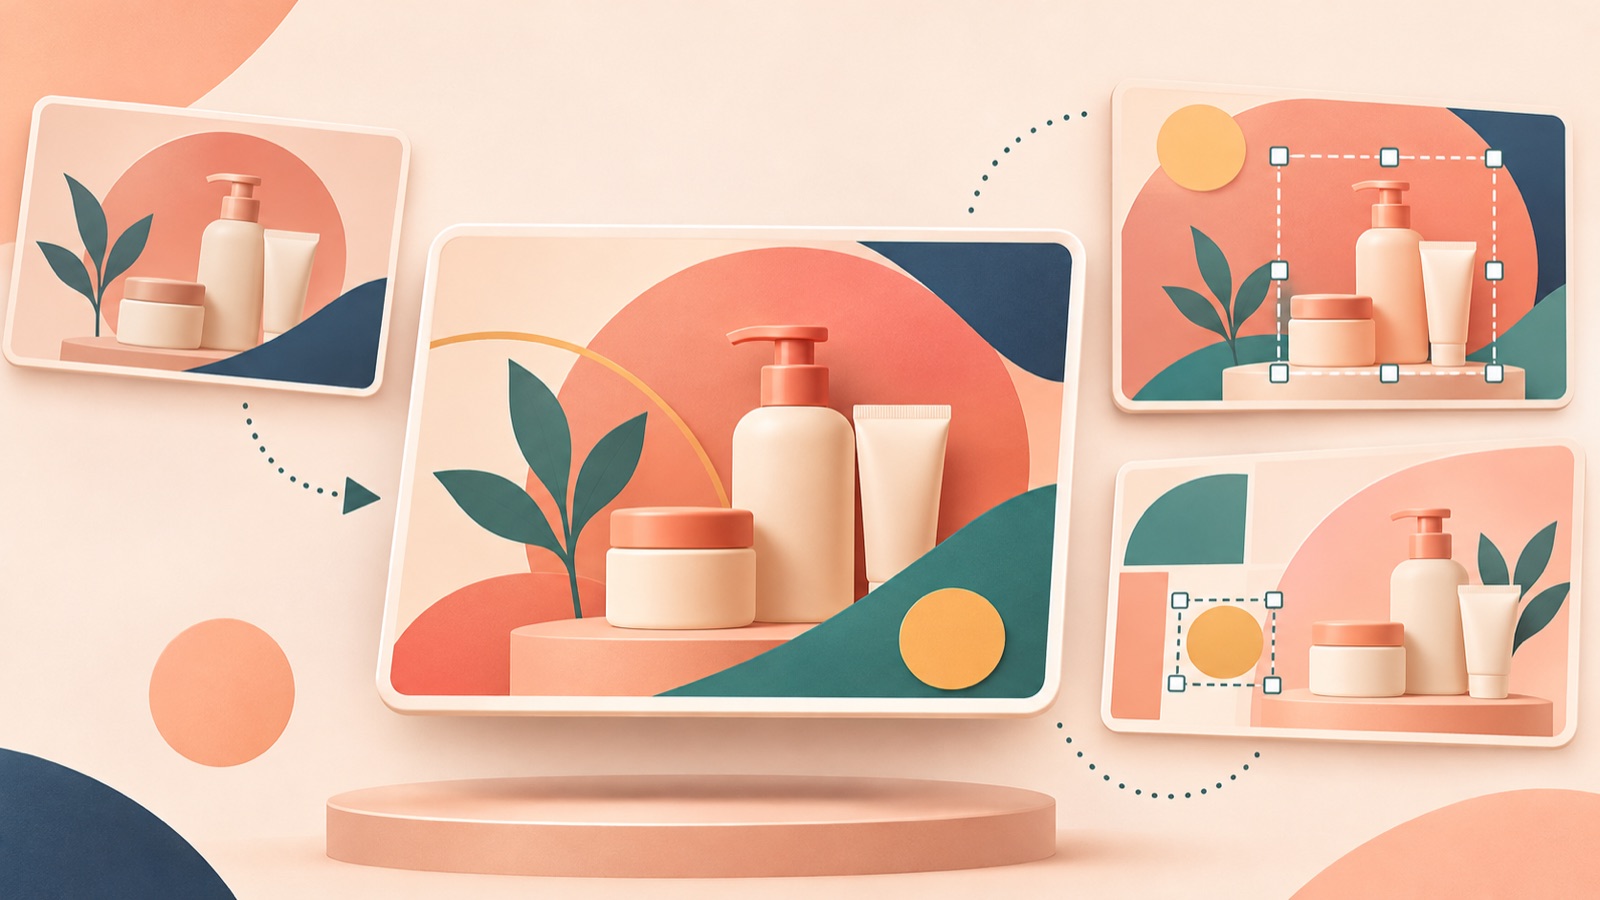
You do not need to learn Photoshop first to create an ad banner that follows a reference image. Canva and Adobe Express both provide guidance on creating banners with templates.23 This comparison of ad banner tools that work without Photoshop uses three selection criteria: the materials you have ready, whether you want to arrange elements yourself, and the final delivery format. AdForge fits when you want new design options based on a reference ad’s layout; Canva or Express fits when you want to arrange the photos and copy yourself. Compare the two editors using the same design task, then consider when to combine tools and when photo compositing is needed to decide how to create your first Japanese banner.
1. AdForge — Get Image Ad Designs Based on a Reference Ad’s Layout
AdForge is our service, and we run this blog. It is an ad remake app that lets you choose an ad you like, add your product photos and message, and create a new ad. For image ads, it uses actual product photos to generate three design options at once, following the reference ad’s layout. It suits people who have a layout in mind but find it difficult to arrange the elements themselves. The advantage is that you can choose a layout to reference, then review finished designs.
When choosing a reference ad, look at where your product photo and copy would go. At the product information step, paste your product page URL to populate the information, then check that the product details and selling points are correct. At the image ad creation step, add actual product photos and the message you want to convey. For a Japanese banner, have your finalized Japanese copy ready to enter. Review the product shape, packaging text, copy, and price in the three generated designs, then download the result you want to use.
The limitation is that users still need to review the generated designs. Rather than copying the reference ad’s content as well, the app creates new content from your product information and uploaded materials. Check your rights to use the photos and the accuracy of the results. Every account starts with 12 free image ads made from product photos, with no credit card required; the free allowance does not replenish. Download the finished assets and manually upload them to your existing ad management tool.
2. Canva — Finish a Banner by Editing a Template Yourself
Canva provides guidance on creating ad banners by replacing a template’s images and copy, then saving the result as a JPG or PNG.2 It fits tasks where you want to arrange prepared product photos and finalized copy yourself. The advantage is that you can start with a template and finish the banner by replacing its content. It suits marketers who can look at a reference ad and decide which elements to change, and who want to make those choices themselves as they work.
The limitation is that you still need to find a template close to your reference ad and decide on the layout you need. The sources reviewed here do not establish that Canva is better suited to replacing photos than Express. To choose, try creating one banner with the same product photo and Japanese copy in each tool. Note what you had to adjust manually to include all the necessary content and what remained unfinished. When comparing it with AdForge, decide whether the ability to arrange elements yourself is an advantage you need for this task.
3. Adobe Express — Compare the Editing Workflow Using the Same Design Task
Adobe Express provides guidance on creating and customizing banners yourself using banner templates, images, and fonts.3 It suits marketers who want to choose a template and adjust the design themselves. The advantage is that you can build a banner while choosing the images and fonts you want. However, this cannot be treated as an exclusive feature that sets it apart from Canva. It makes more sense to consider both tools as manual editing options and compare which one causes fewer roadblocks in actual use.
The limitation is that choosing a tool still leaves you to decide the length of the Japanese copy and how much space the photo should take up. When comparing it with Canva, keep the photo, copy, and reference layout identical. In a hypothetical desk mat ad, for example, use the same product photo and the copy “デスクをすっきり.” Check whether the layout holds up with a long product name and whether the next person responsible can pick up the same work. Choose the tool that is easier to work with once the final copy is in place.
4. AdForge and a Template Editor — Agree on the Layout, Then Build a Separate Banner
This approach combines an initial review of the overall layout in AdForge with the creation of a separate banner in Canva or Adobe Express using the original photos and copy. It suits situations where a business owner or client finds it difficult to describe the layout they want, but the person responsible still needs to produce the final banner manually. Discuss the space given to the product and the order of information using AdForge’s three design options, then use the chosen direction as a reference for template editing. Both editors provide guidance on creating designs with templates.23
The advantage is that you can agree on the desired layout before arranging the elements again. The limitation is the time required to create a separate banner. In a hypothetical example where a product-focused desk mat design is approved, you would put the original product photo and finalized copy into an editor and build a new layout. Do not assume that each element of the generated design will be handed over in an editable form. If the AdForge result meets the delivery requirements, finish by downloading it; choose this combination only when there is a reason to continue editing manually.
5. Photoshop — A Benchmark When Photo Editing and Compositing Are Central
Photoshop serves as a benchmark for photo editing and compositing work.4 It is relevant even to readers who want to create banners without Photoshop because arranging a banner and altering the photo itself are separate tasks. If your product photos and copy are ready, you can start by considering the three tools above. If achieving the desired result first requires photo editing or compositing, however, there is a reason to examine Photoshop’s capabilities separately.
The advantage is that you can consider photo editing and compositing requirements alongside banner creation.4 The limitation for this purpose is that you need to decide whether creating one simple banner justifies learning that broader range of work. Delivering editable source files also comes up in real discussions about choosing banner tools.1 Check the recipient’s required file format first. If only a finished image is needed, choose between ad remaking and template editing; if photo retouching and source file delivery are required, choose a production method that meets those conditions.
Key takeaways
Consider AdForge if you want new design options based on a reference ad, or Canva and Adobe Express if you want to arrange elements yourself to finish the banner. Compare the two editors using identical materials, and if photo compositing or source file delivery is required, establish those requirements first.
FAQ
Should beginners choose Canva or Adobe Express?
The sources reviewed here are not enough to conclude that one is easier than the other. Both tools provide guidance on creating banners with templates.23 Create one banner in each using the same product photo and Japanese copy, then choose the one that requires fewer adjustments and presents fewer roadblocks.
Is AdForge always the right choice if I have a reference image?
It is a suitable choice if you want new design options based on a reference ad’s layout. But if the person responsible needs to decide the placement of photos and copy themselves during production, compare template editing as well. The deciding factor is whether you need to arrange elements yourself, rather than whether you have a reference image.
What materials should I prepare for my first Japanese banner?
Prepare product photos you have permission to use, product information, finalized Japanese copy, and a reference ad. If you include a price, finalize it in line with the actual sales terms. In the finished banner, check that the product text and Japanese sentences appear as entered.
How do I test the finished banners?
For the first comparison, keep the product photo and copy the same and compare layout differences, such as a product-focused layout versus an explanation-focused layout. Manually upload the finished assets to your ad management tool and review the results alongside the campaign conditions. AdForge does not automatically run campaigns through your ad account or analyze performance for you.
Make your next ad with AdForge
AdForge (ad-forge.io) is an ad remake app: pick an ad you like and rebuild it as a video or image ad for your own product. Find references in the Meta and TikTok ad libraries, let AdForge write the script, AI narration and captions, then review and download. Every account starts with 12 free image ads.