Best Video Ad Tools for Dental Practices: 3 Tools and 2 Workflows for English Social Ads
Compare tools for creating English social media ads from photos of your dental practice and staff, plus short introduction videos. We selected three standalone tools and two tool combinations based on the materials you have and the editing you want to handle yourself.
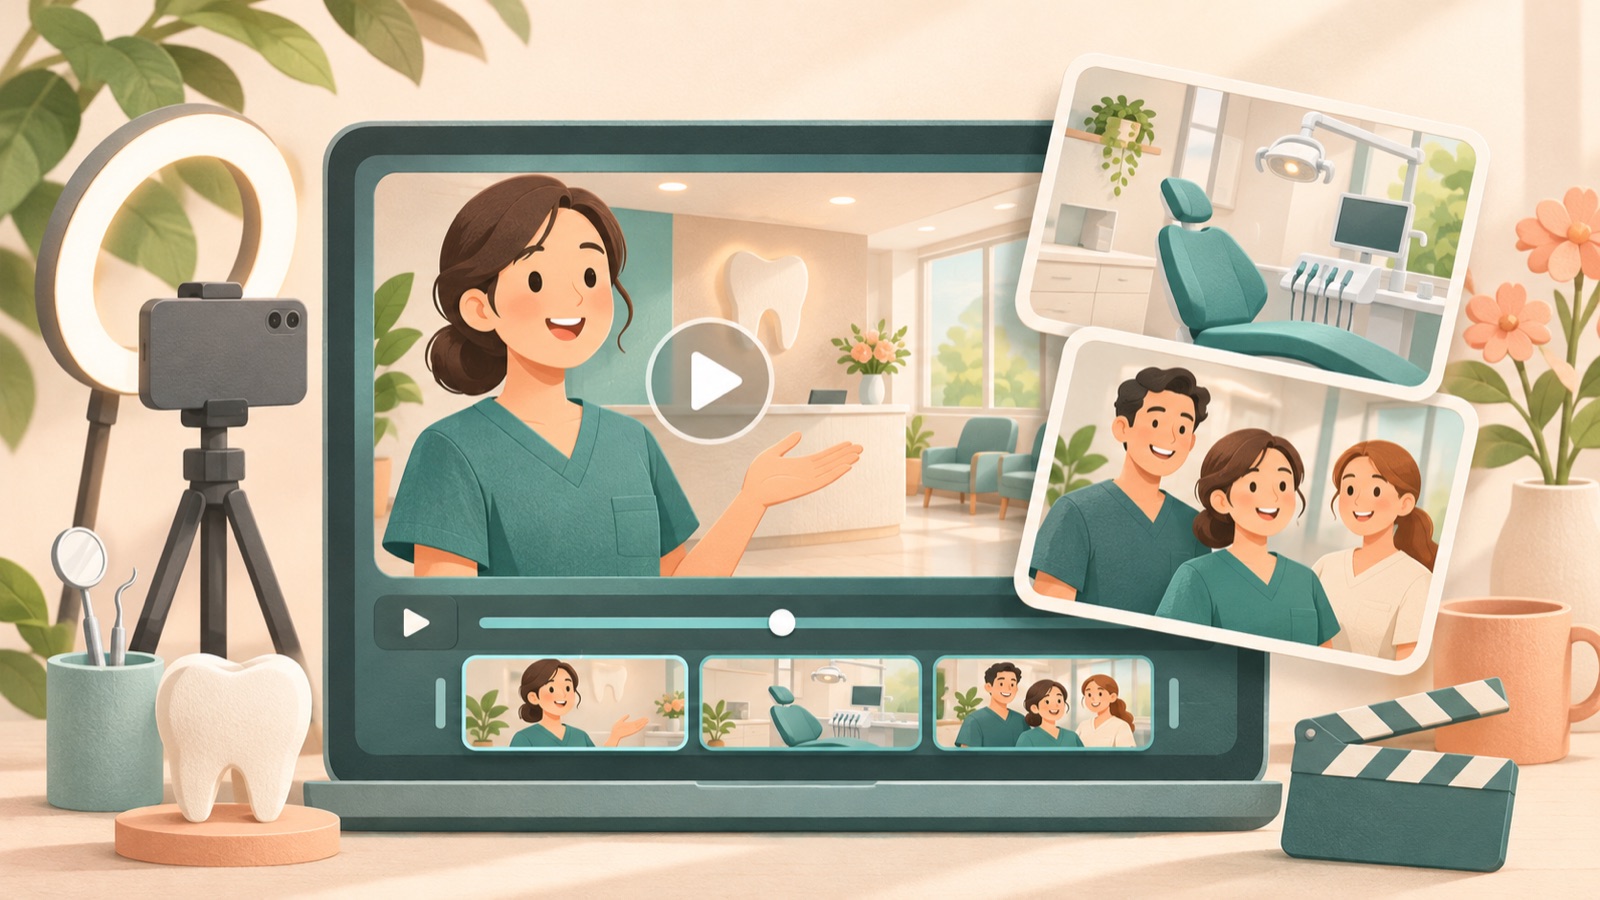
If you are looking for video ad tools for your dental practice, start by separating the materials you already have from the editing tasks you plan to handle yourself. AdForge fits teams that want to build a script from a reference ad, Adobe Express suits those who want to design template screens themselves, and VEED works for editing existing introduction videos. Our selection criteria are how each tool uses real practice materials, how it handles English voiceovers and captions, and how much editing the person responsible needs to do. This is a comparison of three standalone tools and two tool combinations, rather than a performance ranking. Welcome videos and facility tours are also discussed as use cases in US dental practice resources.3
1. AdForge: Build the framework for a first-visit guide from a reference ad
AdForge is our service, and we run this blog. It is an ad remake app that uses the opening scene, progression, visual layout, and call to action of an ad you like as a reference to create a new ad from the materials and message you provide. It suits teams that have real photos of their practice interior and staff, plus short introduction videos, but lack people to handle scripting and editing. For video ads, AI writes an editable script and storyboard and adds English narration, captions, and background music. The advantage is being able to start from a reference structure. The limitation is that you need to review the generated result to make sure it matches the practice’s actual appearance and visitor information.
On the ad discovery screen, search for active ads on Meta and TikTok, then select and save references that could work for a facility introduction. Review the saved ad’s hook, pacing, and shot analysis to decide on the structure you need. When creating your ad, upload practice photos and introduction videos, then enter the services you actually offer and your first-visit guidance in the product and service information. Set the language to English and check the sequence of reception, waiting room, and staff introductions in the script and storyboard. Review whether the photos match the descriptions, check pronunciation and captions, regenerate only the scenes that need changes, and download the result. Video ads require a paid plan. You launch campaigns and check results yourself in your existing ad management tools.
2. Adobe Express: Arrange your practice materials in a template
Adobe Express lets you upload existing videos, choose an ad template, change brand elements, add music and transitions, and download the result.1 It suits dental practices that already have a photo sequence and English copy ready, with someone who wants to design the screens themselves. Its advantage is that you can use a predefined template as a starting point for arranging your practice materials. However, the person responsible needs to make planning decisions about which scene to show first and how much to shorten the copy.
As a hypothetical example, place a real entrance photo and “Your first visit starts here” on the opening screen, followed by the waiting room and a staff introduction video. Match the wording on the final screen to an action visitors can actually take on the booking page. The workflow can follow this sequence: choose a template, upload existing videos, change brand elements and copy, adjust music and transitions, and download.1 Choosing a template does not mean your visitor information is complete, though. We recommend it for teams that have time to check copy length and whether key parts of photos are being cropped.
3. VEED: Add English voiceovers and captions to existing introduction videos
VEED lets you upload and edit videos, add images and text, and export the result. It also offers AI voices and automatic captions.2 It suits dental practices that already have usable footage, such as an introduction from the lead dentist or staff, or a video showing the reception area. Its advantage is that you can edit existing materials while adding explanatory content. The limitation is that the person responsible must decide what to keep and remove from the original, as well as how the ad should begin and end.
As a hypothetical example, take a long video introducing the entire practice and build an ad using only the sequence of a visitor arriving and checking in. Remove lengthy explanations of internal matters and add the English explanations needed for scenes showing the actual space. In VEED, you can use images, text, AI voices, and automatic captions as part of video editing.2 Review the practice name and service names separately in the finished captions. It is a good fit if the footage has a clear focus and you can choose the sections to edit. Teams that also need help planning the ad should organize their message first.
4. AdForge and VEED: Split initial creation from follow-up editing
This combination suits teams that want to create an initial first-visit guide quickly, then have the person responsible continue editing the completed video. Create an English ad in AdForge using a reference and your practice materials, download it, and upload the file to VEED for editing. VEED supports editing uploaded videos, adding images and text, and exporting.2 The advantage is that you can assign separate roles to initial creation and follow-up editing. The limitation is that you must manage files and revisions across two tools, which adds steps to work you could finish in one tool.
As a hypothetical example, create a script and scenes in AdForge around “the spaces you will see on your first visit,” then have someone at the practice review them. If you need to change the check-in instructions or add a separate information screen, you can upload the downloaded video to VEED and make those edits.2 If you only need to change a specific generated scene, consider AdForge’s scene regeneration first. Deciding which tool will handle each revision request can reduce repeated edits to the same copy in both tools.
5. AdForge and Adobe Express: Connect generated video with information screens you design
This combination suits teams that want to create facility introduction scenes through an ad remake and use templates to design information screens specified by the practice. Create a video in AdForge using practice materials and your message, then upload the downloaded file to Adobe Express. Adobe Express supports uploading existing videos, editing templates, and changing brand elements.1 The advantage is that you can clearly define the roles of generated footage and screens designed by the person responsible. The limitation is that you need to align colors and wording across screens produced in the two tools.
As a hypothetical example, use AdForge to create an introduction that moves from the entrance to the waiting room, then use Adobe Express to build the final screen explaining how to book an appointment. You can change template brand elements and add music and transitions in Adobe Express.1 However, do not add separate voiceovers and music simply because you are using two tools. Check the existing audio and transitions, then make only the edits that are needed. If the AdForge result already provides a sufficient information screen, finish with that tool alone. Choose this combination when you need a separate screen design.
Key takeaways
Choose AdForge if you need to start with a script and scene structure, Adobe Express if you want to design templates yourself, and VEED if you want to edit an existing introduction video. Focus on the practice’s actual spaces and one first-visit guidance topic, complete your first English ad in one tool, and add another tool only for the edits you need.
FAQ
Can I start with only practice photos and no recorded video?
In AdForge, you can start creating a video ad by adding practice photos and service descriptions. Prepare real materials showing the entrance, waiting room, and staff, then check that the generated result accurately represents the practice’s actual spaces and visitor information. Video ads require a paid plan.
Which tool fits if I do not have an English script yet?
AdForge fits if you want to create a script from a reference ad and practice materials. You can edit the AI-written script and storyboard yourself. If your English explanations are already set and you want to edit an existing video while adding voiceovers and captions, consider VEED.2
Are these tools also suitable for creating dental treatment animations?
The features reviewed and the scope of this comparison cover facility introductions, staff introductions, and first-visit guidance ads made with existing materials. This article does not establish whether the tools can create animations that accurately depict the movements involved in treatment.
What should I change and test after creating the first ad?
As a hypothetical test plan, keep the same facility introduction content and compare two opening scenes: an entrance photo and a staff photo. Keeping the copy and remaining scenes the same makes the change easier to explain. Download the finished AdForge video, upload it directly to your ad account, and check performance in your existing ad management tools.
Related reading
Make your next ad with AdForge
AdForge (ad-forge.io) is an ad remake app: pick an ad you like and rebuild it as a video or image ad for your own product. Find references in the Meta and TikTok ad libraries, let AdForge write the script, AI narration and captions, then review and download. Every account starts with 12 free image ads.