5 Recommended Tools and Workflows for Before-and-After Video Ads: A Comparison for Japanese Ads
A moving before-and-after photo comparison and an ad with Japanese explanations require different work. Compare four tools and one combined workflow based on the assets you have and how much editing you want to do.
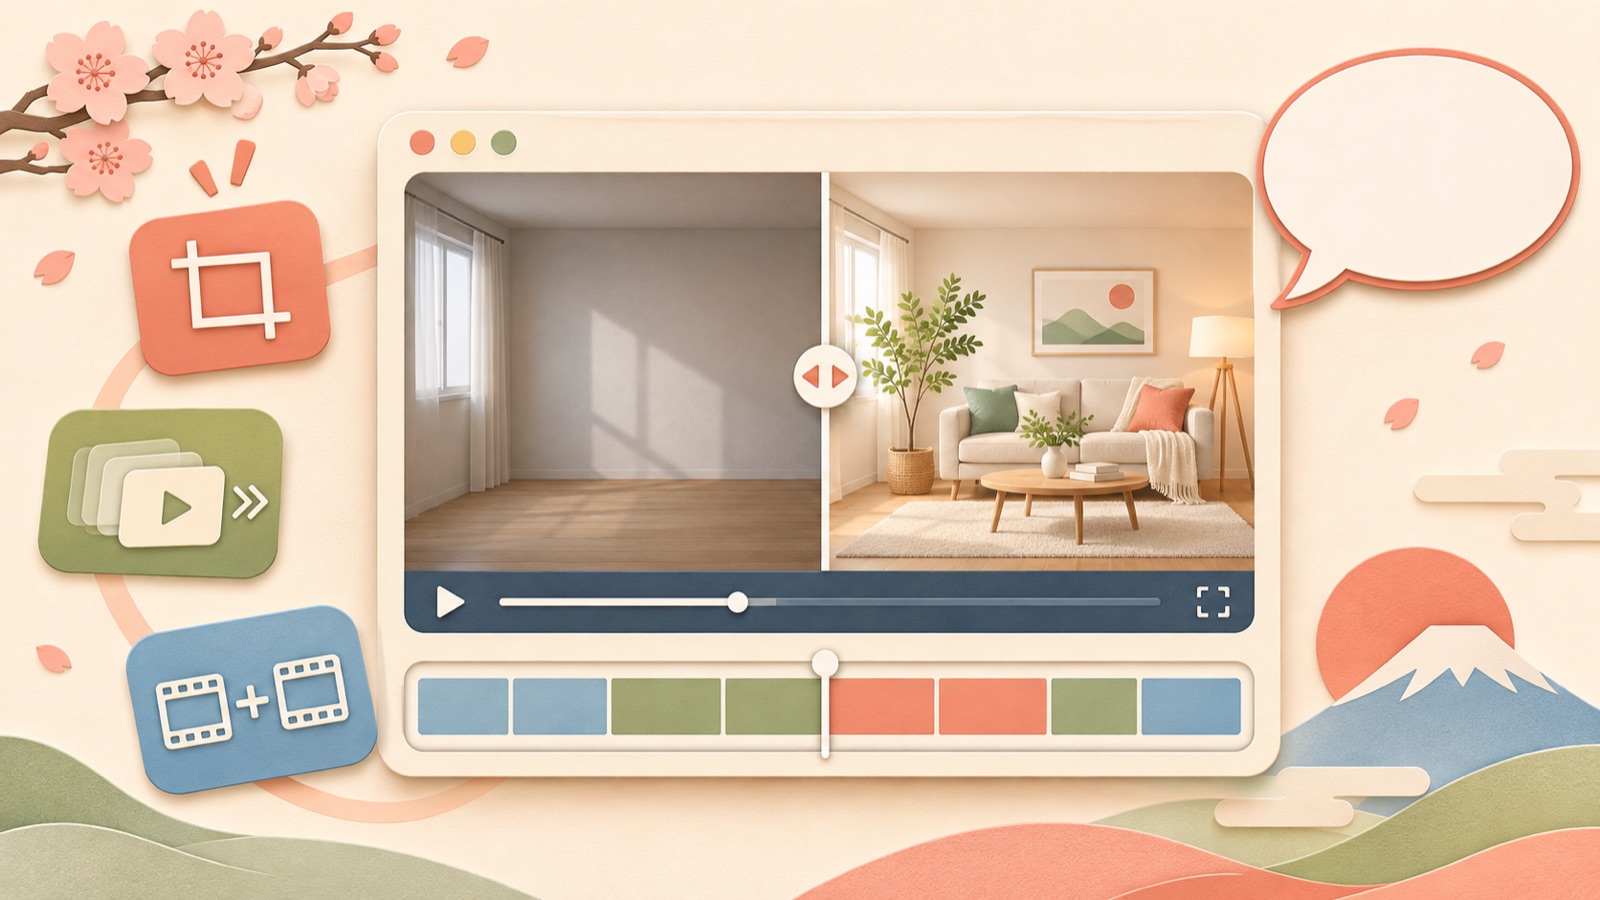
If you are looking for tools to create before-and-after video ads, first decide whether you need only a comparison scene or also Japanese explanations and purchase information. This article selects four tools and one combined workflow based on how you will use your existing photos and videos, how much you want to edit yourself, and whether you need a Japanese script, narration, and subtitles. Consider AdForge for a Japanese ad draft, a dedicated app for a comparison clip using two photos, Canva for an existing design, and CapCut for arranging shots yourself.
1. AdForge — Remake ads by adding Japanese explanations to before-and-after assets
AdForge is our service, and we run this blog. It is an app for creating a new ad with your own product assets and messaging, using the opening scene, progression, visual layout, and call to action of an ad you like as a reference. It suits people who have before-and-after photos or footage of work in progress but find it difficult to handle scripting, filming, and editing themselves. The ability to create a Japanese script, narration, and subtitles together is a reason to choose it. However, we have no basis for recommending it for creating precise comparison sliders or split screens.
To get started, search Meta and TikTok ads on the reference selection screen and save an ad that clearly shows a change. Review the analysis of the saved ad’s hook, pacing, shots, and subtitles, then enter your product information and upload your actual before-and-after photos and videos. You can also populate the information using a product page address. In your message, specify separately what changed and which assets show the before and after states, then select Japanese as the production language. Revise the before-and-after sequence and explanations in the AI-generated script and storyboard.
When reviewing the result, check that the visuals match your actual assets and that the Japanese narration and subtitles do not exaggerate the extent of the change. You can regenerate individual scenes that need revision. For example, for a hypothetical storage product ad, you could review the sequence of a desk before tidying, the same desk after tidying, and product information. Video ad creation requires a paid plan. Download the finished ad and upload it directly to your ad account, then use your existing ad management tools to run it and review performance.
2. ビフォアーアフター Before after video — Create a comparison clip from two photos
This app is a tool for creating comparison clips that show a before-and-after change in video form using two selected photos. The developer’s listing describes features for adjusting transition animations, photo positioning, and music, and saving the video. It suits people who already have before-and-after photos and want to start by creating a single scene that transitions between the two states. Because the workflow focuses on choosing photos and presenting the comparison, it is worth considering when you need a comparison scene rather than a complete ad.2
One advantage is that you can adjust the photo positions to align the areas where the change is visible.2 For a hypothetical cleaning service ad, you would prepare before-and-after photos of the same shelf and align them so that the shelf corners appear in roughly the same position. A limitation is that the verified description does not establish that the app can also produce Japanese scripts, narration, and subtitles. Before choosing it, decide where you will add the service explanation and booking information after saving the comparison clip.
3. Canva — Replace template assets with your before-and-after material
Canva suits people who want to start with an existing template rather than design a before-and-after layout from scratch. Its official page includes templates for before-and-after videos, Instagram Reels, and renovation feed ads. This supports a workflow in which you choose a layout and replace its assets with your own.1 If you want to see where the headline and informational copy will go, as well as the before-and-after photos, before making your choice, this can reduce the burden of planning a layout on a blank canvas.
One advantage is that you can use the template’s structure to determine which assets and copy you need.1 For a hypothetical furniture restoration service, insert a photo from before the restoration and a photo of the finished piece, and prepare short Japanese copy explaining the work. A limitation is that choosing a template alone does not determine the order in which you explain your service or the reasons to buy. The source reviewed here covers templates, so Japanese narration features and pricing were not used as criteria in this comparison.
4. CapCut — Edit process footage and before-and-after scenes yourself
CapCut is an option to consider if you want to include footage of the work process between two before-and-after photos. Its official guide covers importing assets, arranging shots, adding text, sound, and effects, and exporting.3 For a hypothetical packing service, you could arrange the unpacked state, the process of organizing the items by hand, and the finished package yourself. It suits people who want to decide which scenes to keep and where to add explanations.
One advantage is that you can shape the editing process yourself, arranging shots and adding text and sound.3 Beginners, however, will need to decide how long the before-and-after scenes should run, how much process footage to include, and how long to display the Japanese copy. Lengthy explanations can overshadow the change itself, so assemble the comparison scene first, then add the explanations it needs. This source alone does not establish the extent of automatic Japanese script, narration, and subtitle creation, so those features are not presented as reasons to choose it.
5. A before-and-after comparison app plus AdForge — Prepare a comparison clip, then build it into an ad
This entry is a workflow that uses two tools in sequence, rather than a separate tool. First, adjust the positioning and transition of two photos in a before-and-after comparison app and save the result as a video.2 Then upload that clip to AdForge as a product asset, add a reference ad and Japanese messaging, and create a new ad. It suits people who need to establish how the comparison scene will look first and also need a service explanation and a call to action. Uploading assets does not mean the two tools are automatically integrated.
One advantage is that you can prepare the visual comparison and then structure the ad’s explanation in sequence. The limitations are the extra saving and uploading steps and the need to check again that the comparison clip is used as intended in the final ad. If you plan to show only two photos, start with a dedicated app. If you plan to explain in Japanese why the change happened and what viewers should do next, start with AdForge. Choose the combined workflow when you need both.
Key takeaways
Consider a comparison clip app to show only the before-and-after change, Canva for a template layout, and CapCut to arrange the work process yourself. To add a Japanese script, narration, subtitles, and purchase information to your actual before-and-after assets, you can use AdForge to create an ad draft.
FAQ
Can I get started with just two before-and-after photos?
Yes. If your goal is a comparison clip, you can consider a dedicated app that lets you select two photos and adjust the transition, positioning, and music.2 To create a Japanese ad as well, prepare product information, an explanation of the change, and purchase or inquiry information.
What should I choose if I also need Japanese explanations, narration, and subtitles?
In this comparison, AdForge fits that task. It can create Japanese scripts, narration, and subtitles. After generation, review the pronunciation of product names, the order of the before-and-after assets, and whether the explanation describes only changes that can actually be verified.
Can I recreate the exact visuals of a reference ad?
Do not choose it on the assumption that it will reproduce identical visuals. AdForge uses the structure and progression of a reference ad to create a new ad with the product information and assets you provide. Precise comparison slider and split-screen features have not been verified.
What should I compare after creating my first ad?
For a hypothetical storage product ad, you could plan two versions using the same before-and-after assets, with one opening on the untidy state and the other on the tidy state. Keep the explanation and purchase information the same. Upload the finished creatives directly to your ad management tool, then review the results.
Make your next ad with AdForge
AdForge (ad-forge.io) is an ad remake app: pick an ad you like and rebuild it as a video or image ad for your own product. Find references in the Meta and TikTok ad libraries, let AdForge write the script, AI narration and captions, then review and download. Every account starts with 12 free image ads.